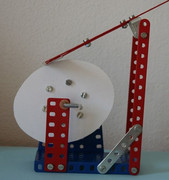
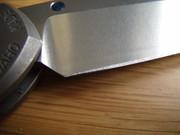
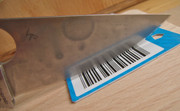
Specifically for scandi grinds on Mora's etc i designed and had this made a while back.
I call it a "limiter block", as it limits your range of movements while sharpening guided on the Tormek to only back & forth and up & down (for the point area)
The block can slide along the steel guide rod, and with the screws i can finetune the clamping force.
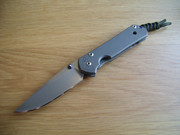
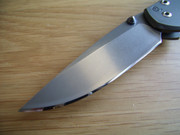
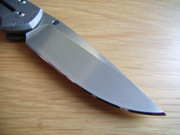
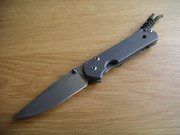
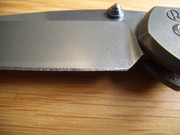
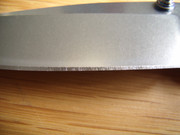
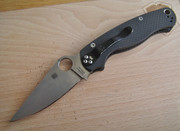
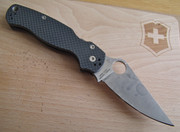
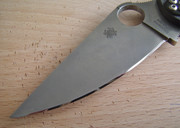
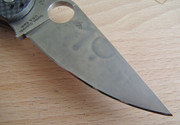
The knife is my Mora 2000 which i bought in Sweden in 2006, and which was used as a testbed for various edges, once even with a few serrations just in front of the handle.
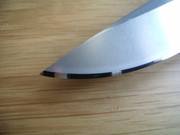
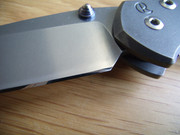
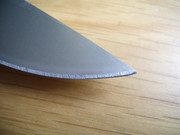
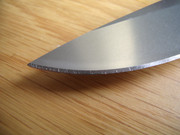
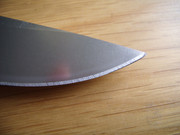
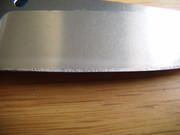
I reground it several years ago using the limiter block, then removed the slight burr on the Tormek leather wheel for a slightly convex microbevel.
It has been living in my daypack ever since, and the apex has already been refreshed several times on a Spyderco white ceramic stick (when on holiday)


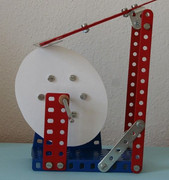
I call it a "limiter block", as it limits your range of movements while sharpening guided on the Tormek to only back & forth and up & down (for the point area)
The block can slide along the steel guide rod, and with the screws i can finetune the clamping force.
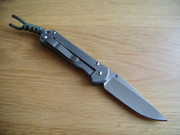
The knife is my Mora 2000 which i bought in Sweden in 2006, and which was used as a testbed for various edges, once even with a few serrations just in front of the handle.
I reground it several years ago using the limiter block, then removed the slight burr on the Tormek leather wheel for a slightly convex microbevel.
It has been living in my daypack ever since, and the apex has already been refreshed several times on a Spyderco white ceramic stick (when on holiday)